Hmm...what can be more healthier than a bean pancake stuffed with veggies to start a bright sunny day.
And guess what? This recipe also passed the taste-test (I know the tongue twister ;)) of the gourmet food lover Hubby [:)] . So lets get started :)
Ingredients:
For Pancakes:
1 Cup Mung Beans (Green gram)
1tsp grated ginger
1 tsp cumin powder
4-5 Chillies
and Salt to taste
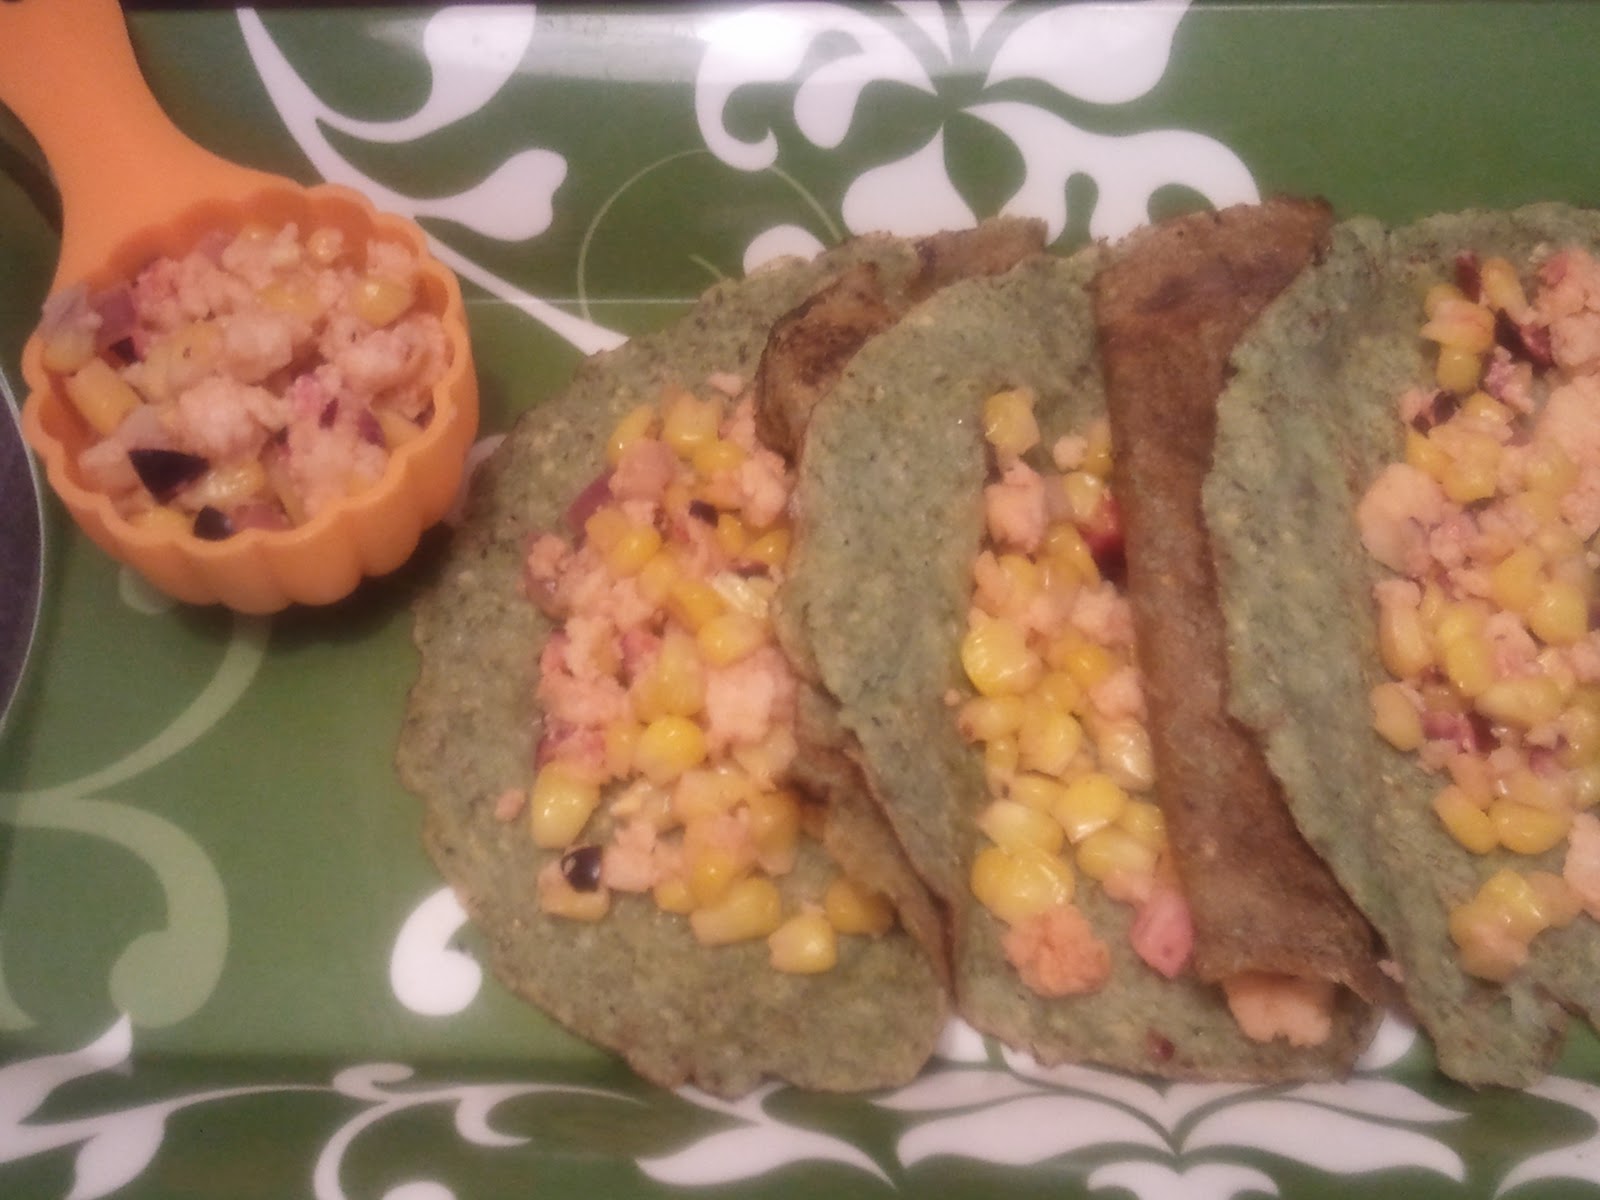
For Stuffing:
1 Cup Boiled Corn
1/2 cup finely chopped onions
1/4 -1/8 Cup finely chopped fresh cranberries
1/4 cup grated Cottage cheese (Paneer)
1 Tbsp Hot sauce.
1Tbs Sugar (To balance cranberries :))
1Tbs Chaat Masala (Or 1/2 Tbsp black pepper)
 Salt to taste.
Procedure:
Soak beans overnight or for at least 6 hours.
Step 1: Grind the soaked beans with all the above mentioned ingredients in a food processor, till it becomes a fine paste (This won't be a smooth paste but little coarse). Add at least 1 cup of water in the food processor and grind again. Now the consistency will be more like a batter than a paste.
Step 2 : Put a flat pan on stove and wait till it gets heated up.
(If you try to make the pancakes on a cold pan, it will stick to the pan, so wait till it gets hot)

Step 4: Pour one or 2 drops of oil near the border of the pancake.
Step 5: Leave it on the pan for couple of minutes to roast. Then check whether you can pick it up using a thin ladle. And if it is not sticking to the pan any more then just turn the pancake on other side.
And leave for few minutes. Then remove it from the pan.
The trick is to wipe the pan clean after you remove every pancake with a mildly wet paper towel. (Warning: Be careful not to burn your hand while following this trick )
 For Stuffing.
Just boil the corn. And mix all the above ingredients and mix it well.
Now stuff the Pancakes with this mixture and Tadaaaaaa..Healthy tasty breakfast is ready...in few minutes :)
You can do any stuffing as you like.
Try this out and let us know of any creative stuffings you used :)
Till then happy eating :)


